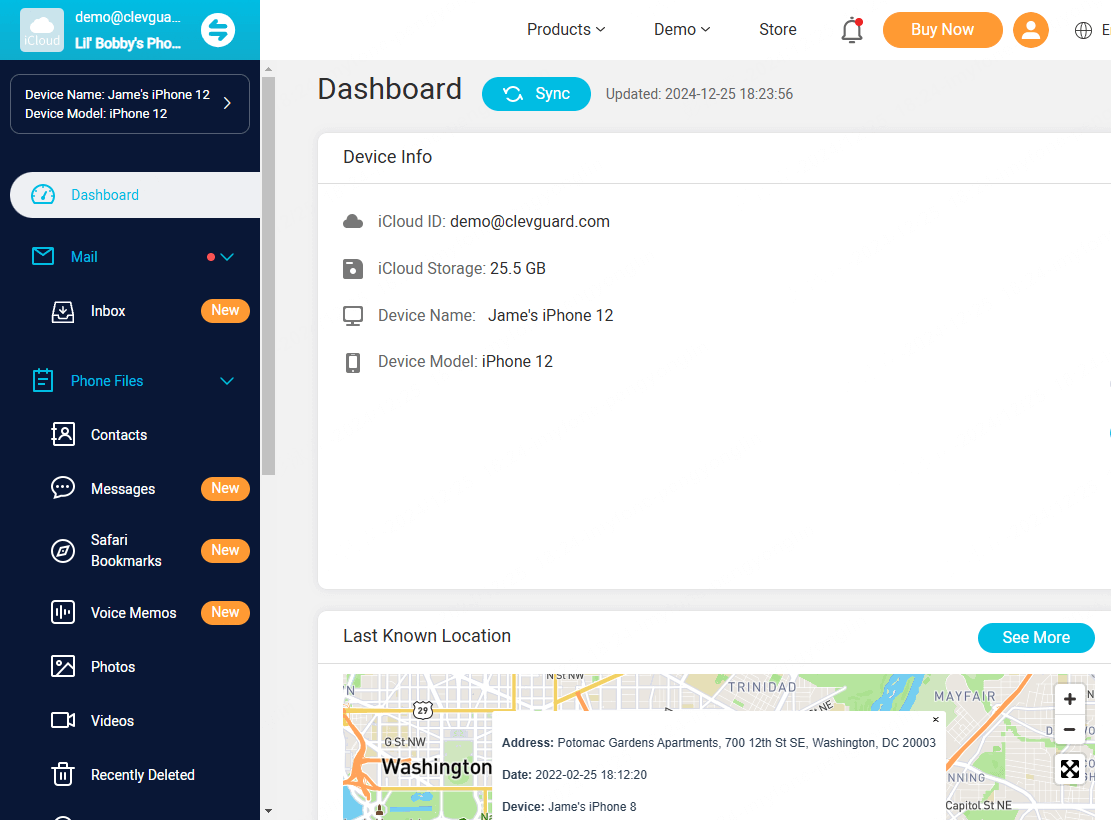
Video Tutorial: How to Use KidsGuard Pro for iCloud
Before we start our text guide, we have made a complete operation video to give you a clearer understanding of how to use KidsGuard Pro for iCloud:
Next, let's use the text guide to see how to operate KidsGuard Pro for iCloud step by step:
Step 1. Create an Account & Choose Your Suitable Plan
Click the button below to choose a pricing plan for advanced monitoring features.
Note
If you directly sign up for ClevGuard with third-party accounts like Google or Facebook, you will receive the ClevGuard account and password in your email. Simply click 'Enter Online Dashboard' to go to the dashboard of KidsGuard Pro. Choose the iOS device and you will see a setup guide.
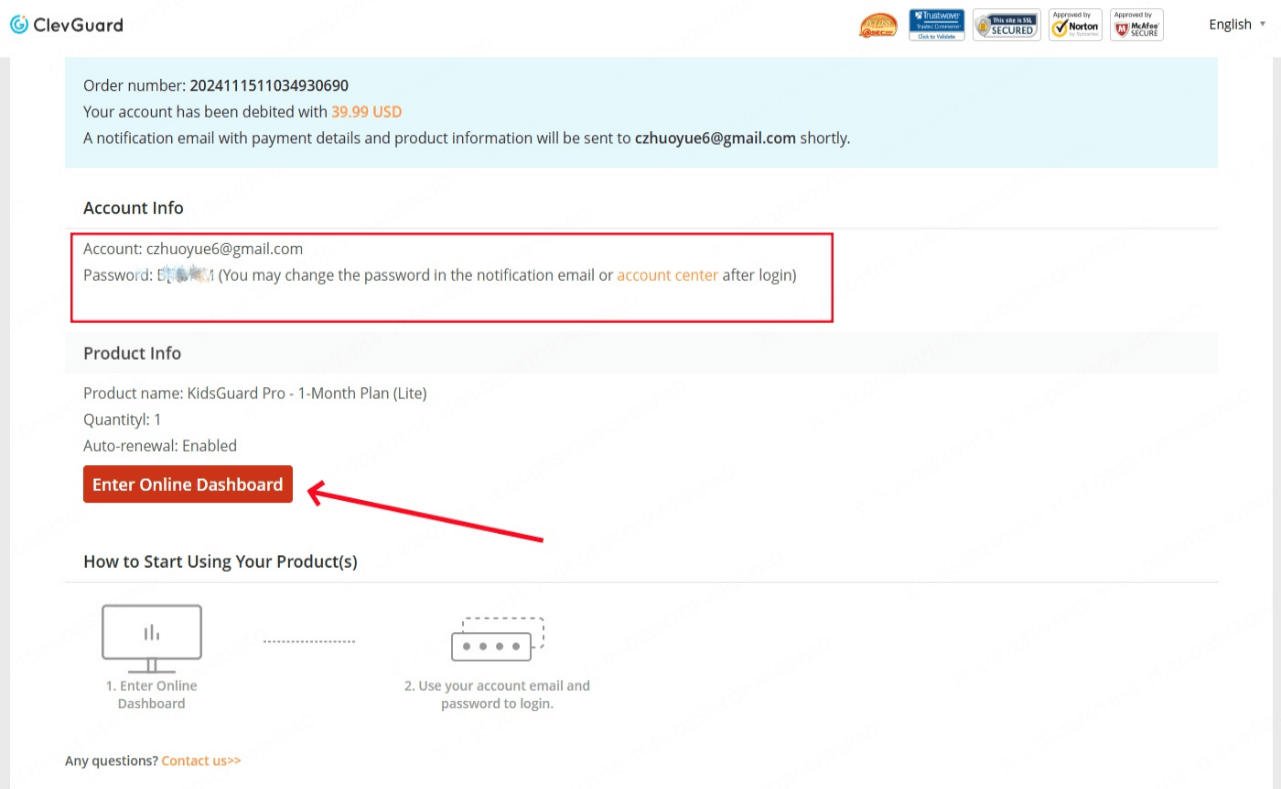
Step 2. Download KidsGuard Pro for iCloud and Set It Up
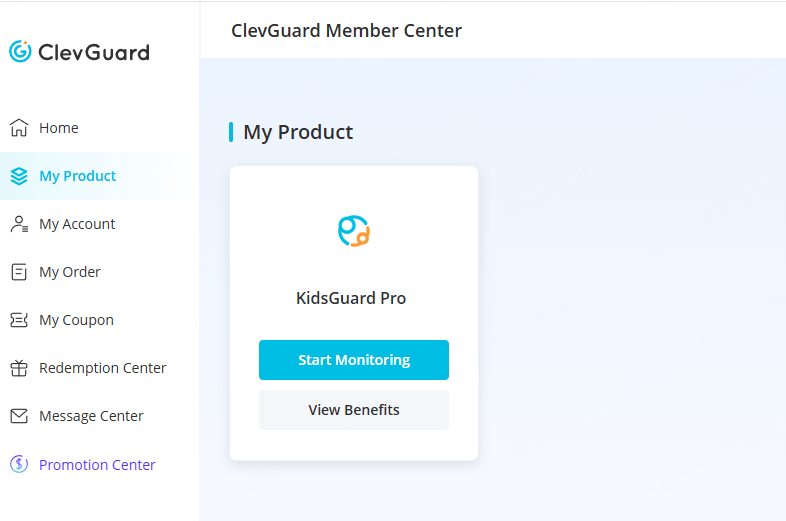
After purchasing our iOS monitoring tool successfully, you will be navigated to 'My Product' page. Here you will find the corresponding order you have purchased before. Click on 'Start Monitoring' and you will also launch the dashboard.
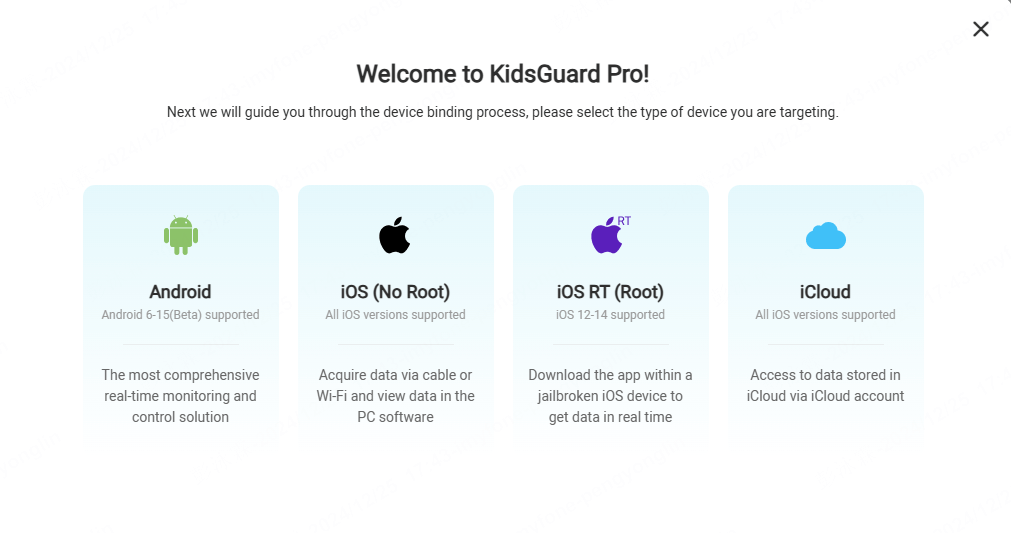
Once you reach the dashboard, choose iCloud.
Then enter the Apple ID linked to the target device, and click Verify Apple ID. Please make sure the iCloud ID or password you filled up is correct and the account is valid.
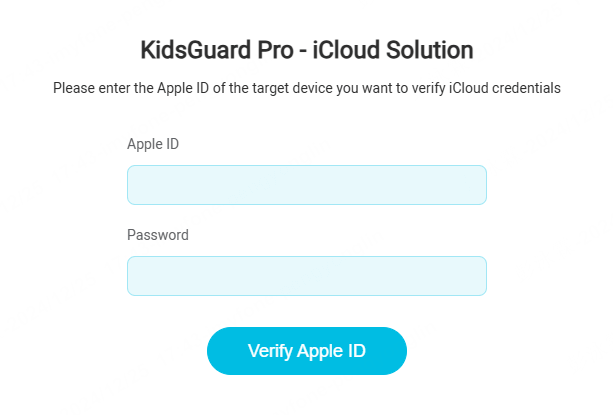
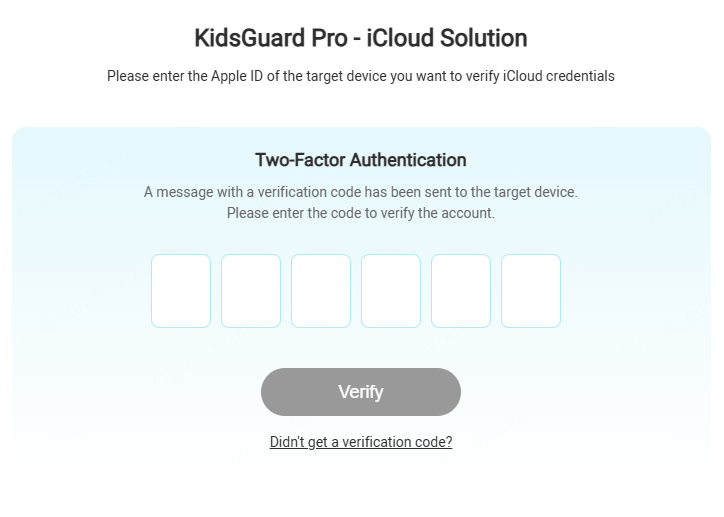
If Two-Factor Authentication is enabled on the target device, you need physical access to the phone to get the iCloud verification code.
Note
You can also add your own phone number as a trusted device to avoid entering the verification code every time. To do this, please get hold the target iPhone and go to Settings> Your Name> Password & Security and tap the Edit button to add trusted phone number.
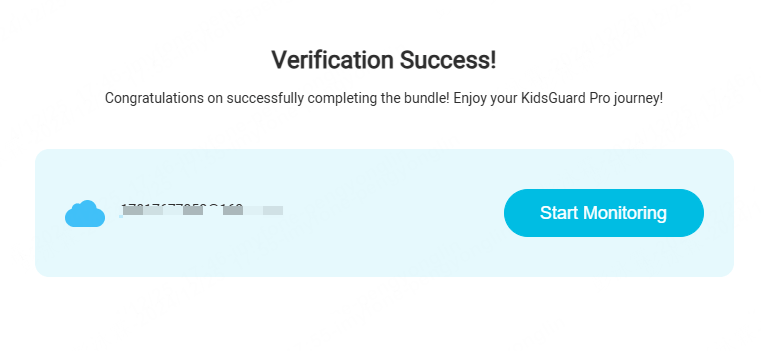
If you verify successfully, you'll receive a popup window. Click the Start Monitoring button.
Step 3. Start Monitoring on Your Computer
You can now start monitoring on the target iOS device and check all the updated data remotely. It might take some time if it's the first time to sync data.
