Video Tutorial: How to Use KidGuard Pro for iOS
Before we start our text guide, we have made a complete operation video to give you a clearer understanding of how to use KidsGuard Pro for iOS:
Next, let's use the text guide to see how to operate KidsGuard Pro for iOS step by step:
Step 1. Create an Account & Choose Your Suitable Plan
Click the button below to choose a pricing plan for advanced monitoring features.
Note
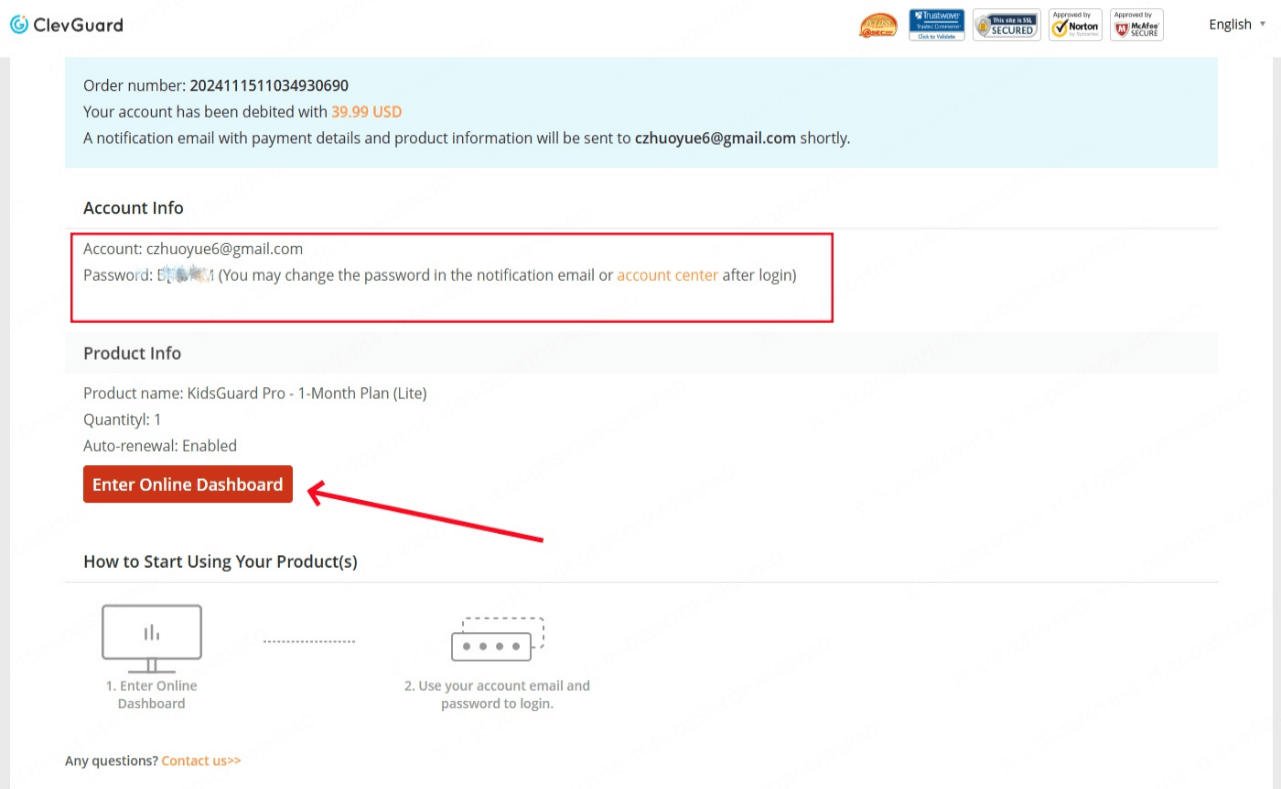
If you directly sign up for ClevGuard with third-party accounts like Google or Facebook, you will receive the ClevGuard account and password in your email. Simply click 'Enter Online Dashboard' to go to the dashboard of KidsGuard Pro. Choose the iOS device and you will see a setup guide.
Step 2. Download KidsGuard Pro for iOS and Set It Up
After purchasing our iOS monitoring tool successfully, you will be navigated to 'My Product' page. Here you will find the corresponding order you have purchased before. Click on 'Start Monitoring' and you will also launch the dashboard.
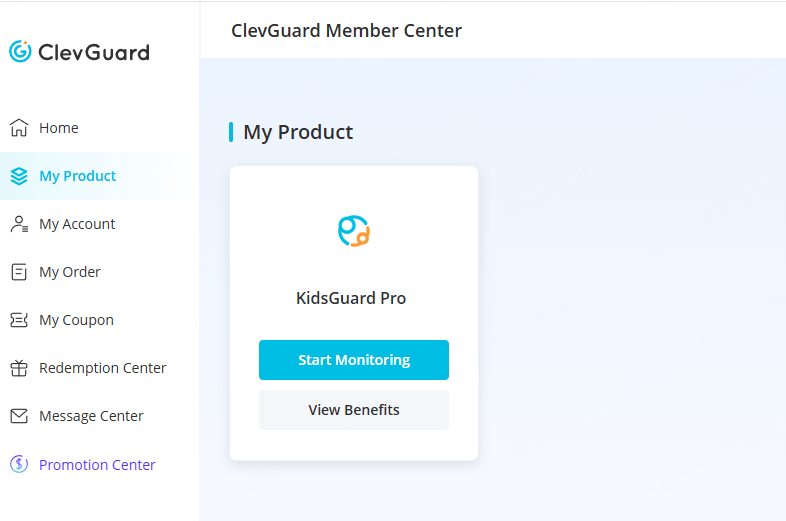
Once you reach the dashboard, select the iOS device and you will see a setup guide. Let's take a closer look at how to complete the setup.
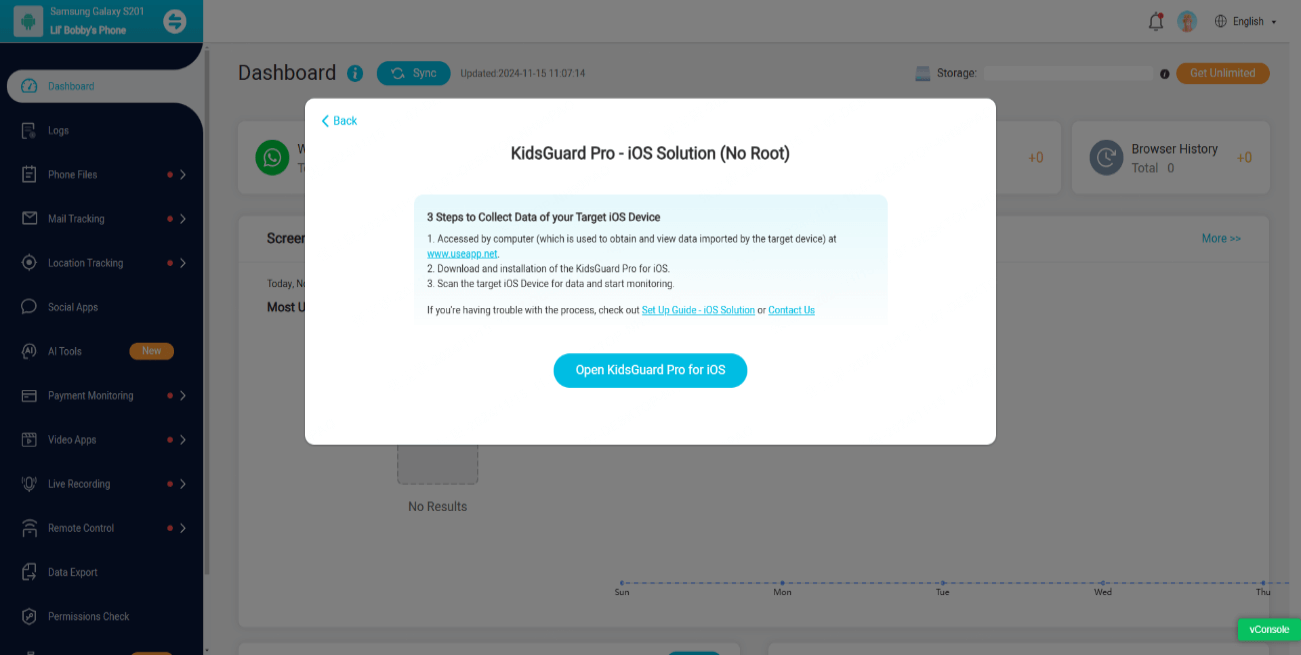
Here are the simple steps you need to follow to complete the setup:
2.1 Open the website: www.useapp.net in any browser, download and install the KidsGuard Pro app.
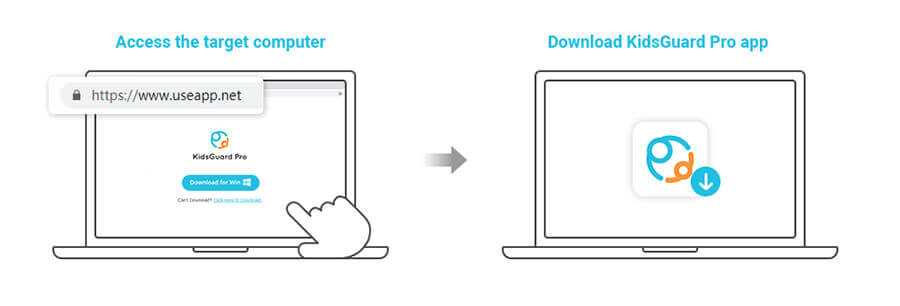
Note
Our iOS monitoring software can be downloaded on Windows PC or Mac. Please note that if a "Windows protected your PC" pop-up message appears during installation on Windows PC, click the "More Information" button below the message. Then select "Run Anyway" to continue installing the program on your computer.
2.2 Two methods to backup and analyze the target device to monitor iPhone data:
There are two methods to scan the target device and retrieve data from it. The first method is to connect the iPhone to the target's usual computer using a USB cable to create a data backup. The second method allows remote backup of the iPhone via Wi-Fi. Below, we will introduce these two methods.
Method 1: Connect the iOS Device to Computer with USB
Available for: Users who cannot connect the target iPhone and computer to the same Wi-Fi.
With this method, KidsGuard Pro for iOS can monitor an iPhone by backing up its data via a USB cable connection between the device and the computer. You can choose any available iPhone backup to extract the necessary data.
This means that just by connecting the iPhone to the computer where the software is installed, you will have access to the latest data updates.
In addition, if there are existing backup files on the computer, the program will automatically detect and display them. Just select the backup file of the target device you want to monitor and start the scanning process.
Monitor Target's Data on the Device
Choose 'View iTunes Data' and start scanning.
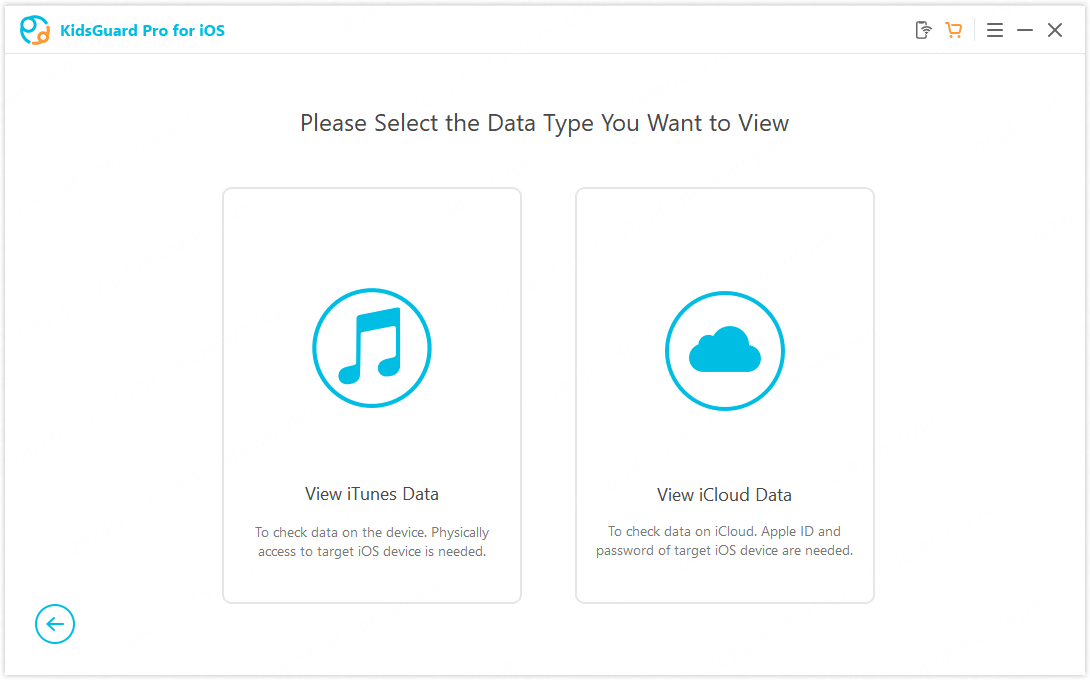
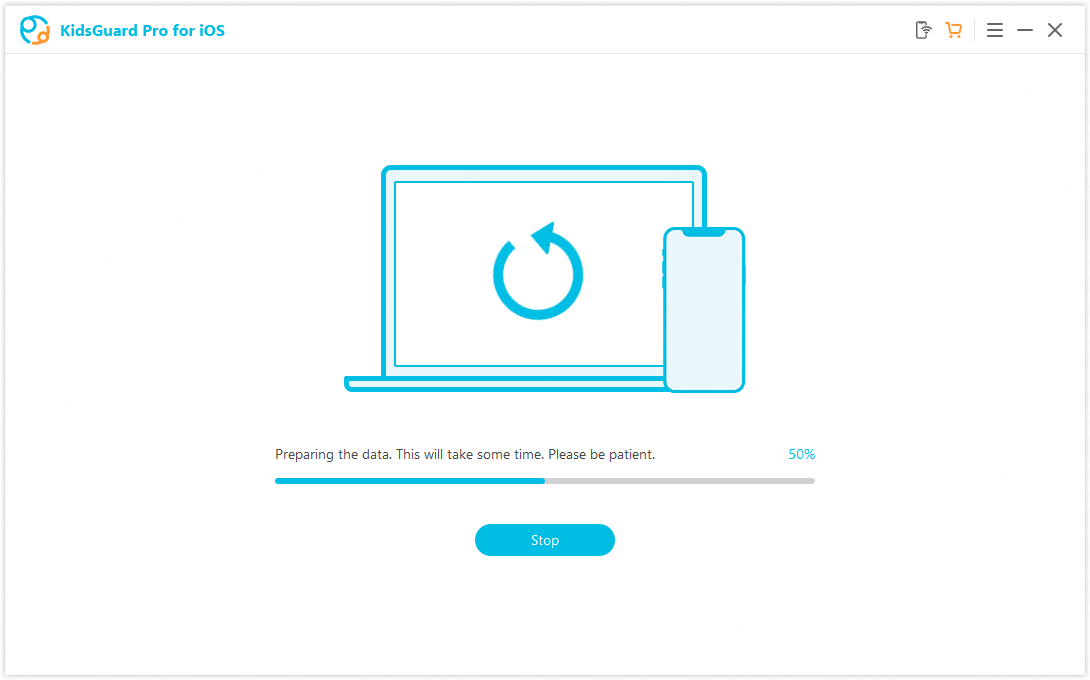
No matter who connects the target iOS device to the computer in the future, the program will automatically capture and display the latest data. If the latest backup file does not appear when you open the program, you need to reconnect the target device and perform a data scan again.
In addition, except for the first time you need to use USB, you can use WiFi connection in the future.
Monitor Target's Data on iCloud
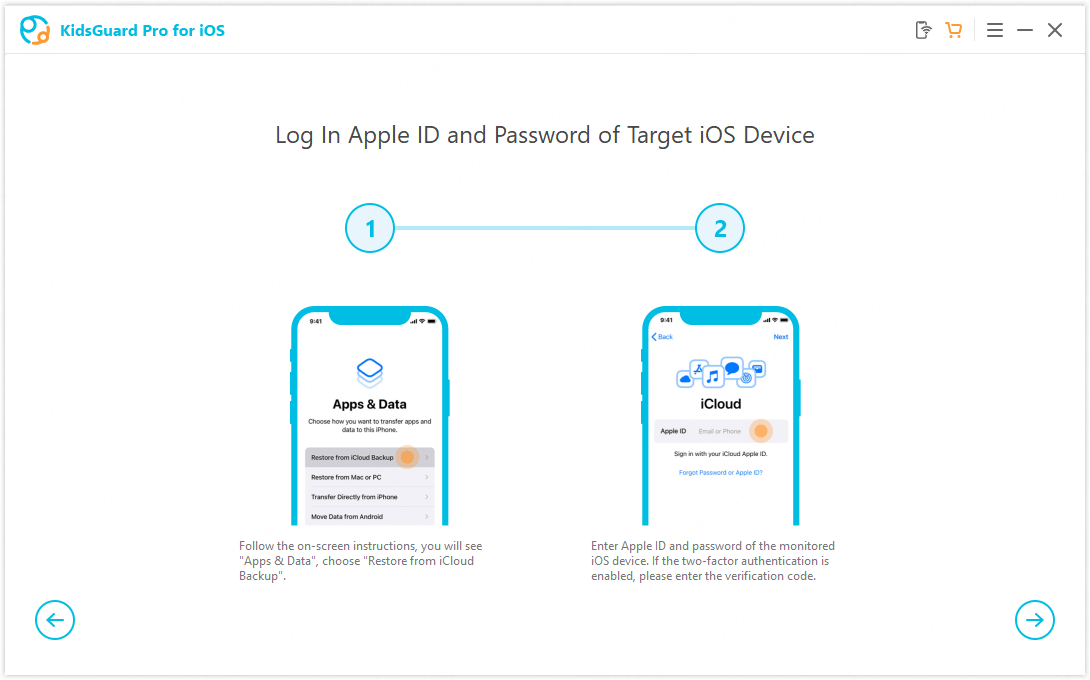
Click 'View iCloud Data' and follow the on-screen installation instructions. When the phone displays 'Apps & Data', select 'Restore from iCloud Backup' and enter the iCloud Apple ID you want to monitor.
Note
1. Before restoring to factory settings, it is recommended to back up your data. You can follow the guide in the app to complete the data backup smoothly.
2. The new version of KidsGuard Pro for iOS supports factory reset of iOS devices via computer.
Method 2: Connect the iOS Device to Computer with Wi-Fi
Available for: Those who want to remotely scan the target iPhone without using a USB connection and make sure the device is on the same Wi-Fi network as the computer.
Note
When backing up, you need to connect the target iPhone to the computer with the same Wi-Fi network.
After making sure that the iPhone and computer are connected to the same Wi-Fi, click the first icon in the upper right corner. When the device is successfully identified, the device name, serial number, and system version will be displayed in the list.
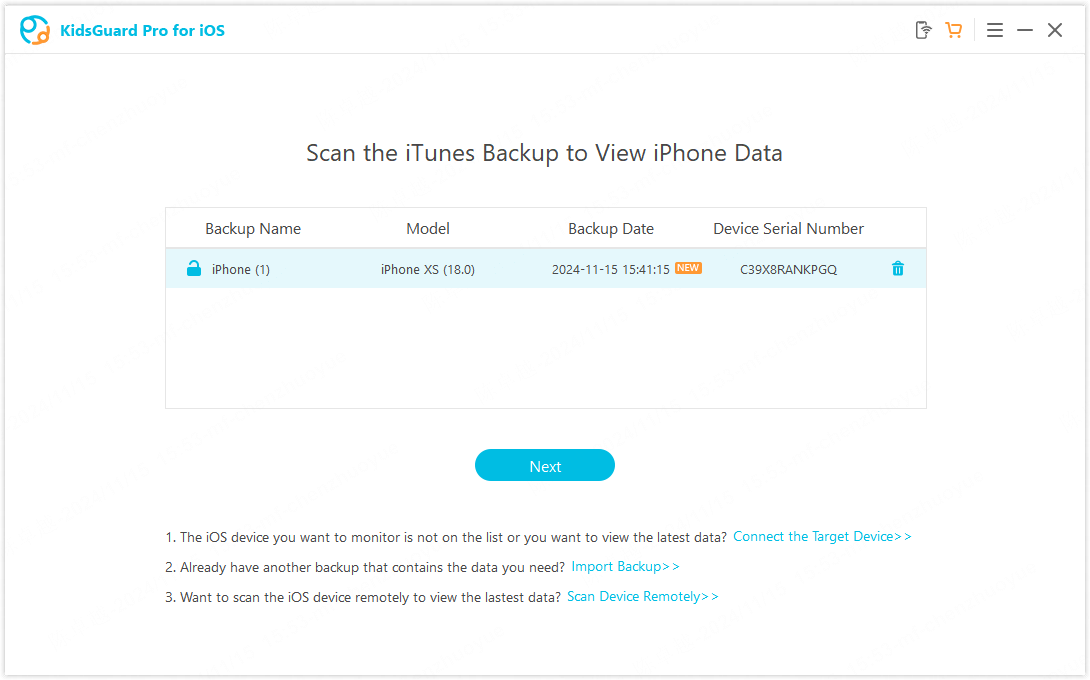
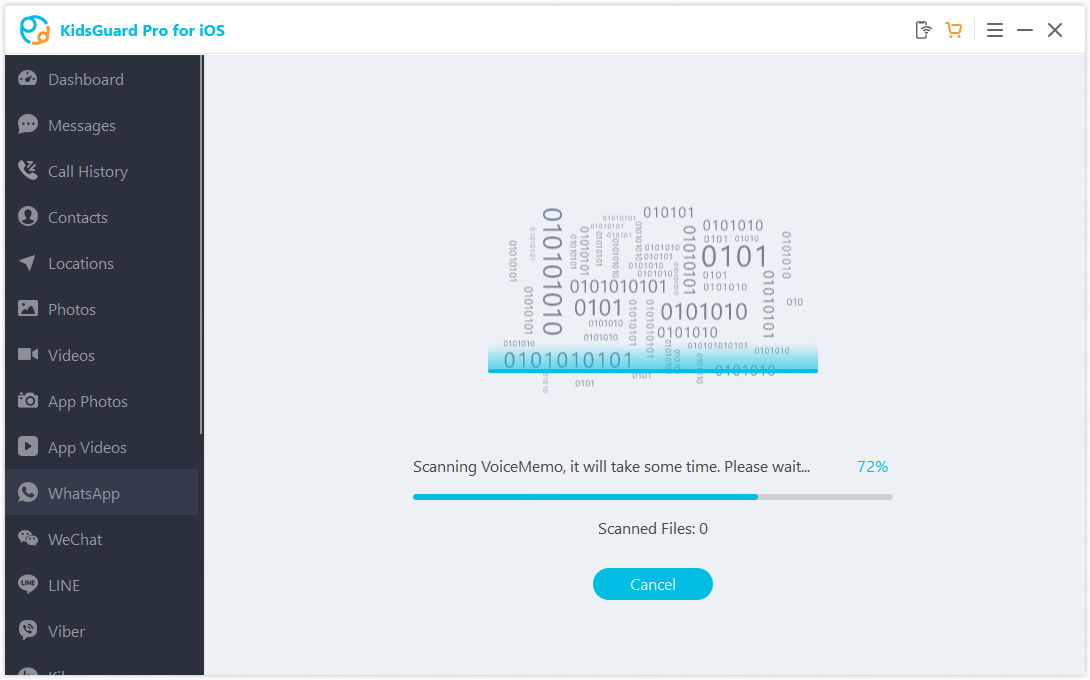
Click the "Next" button to start the sync process. Once the scan is complete, you will see the dashboard.
Note
1. Data backup can only start successfully after the target iPhone is recognized. If the target device is not found, you can wake up the screen so that the device can be recognized.
2. In addition to clicking the Wi-Fi icon in the upper right corner to back up data, you can also start Wi-Fi backup by clicking the "Scan Device Remotely" button at the bottom.
3. If the privacy settings have been reset, you need to connect the target device to the computer with a USB cable and trust the computer again.
Step 3. Start Monitoring on Your Computer
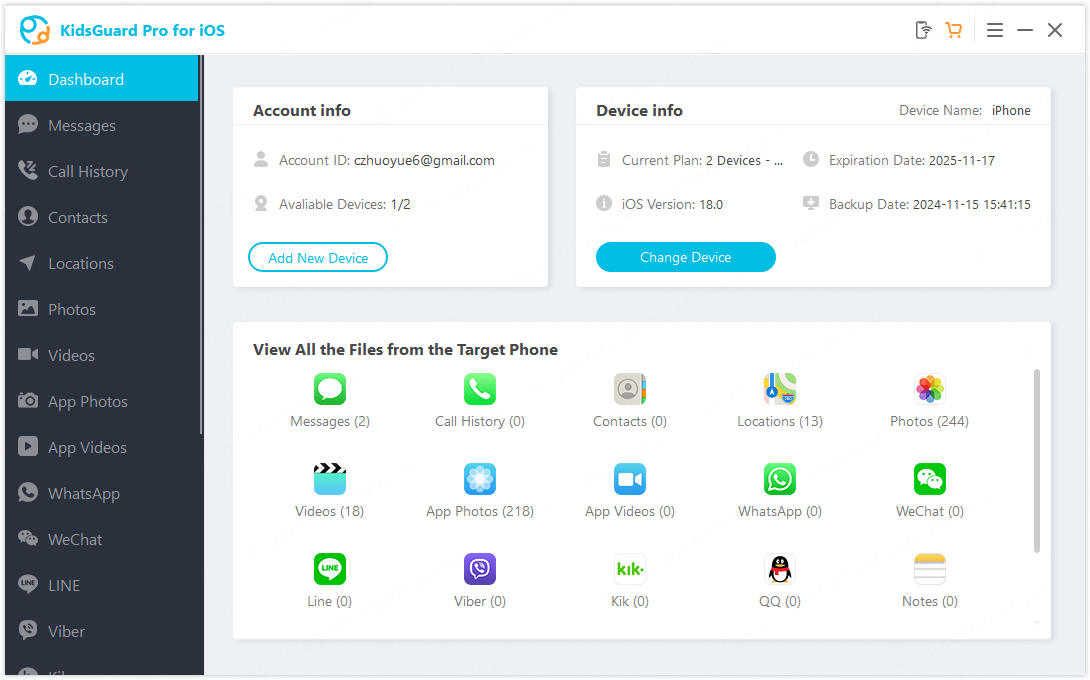
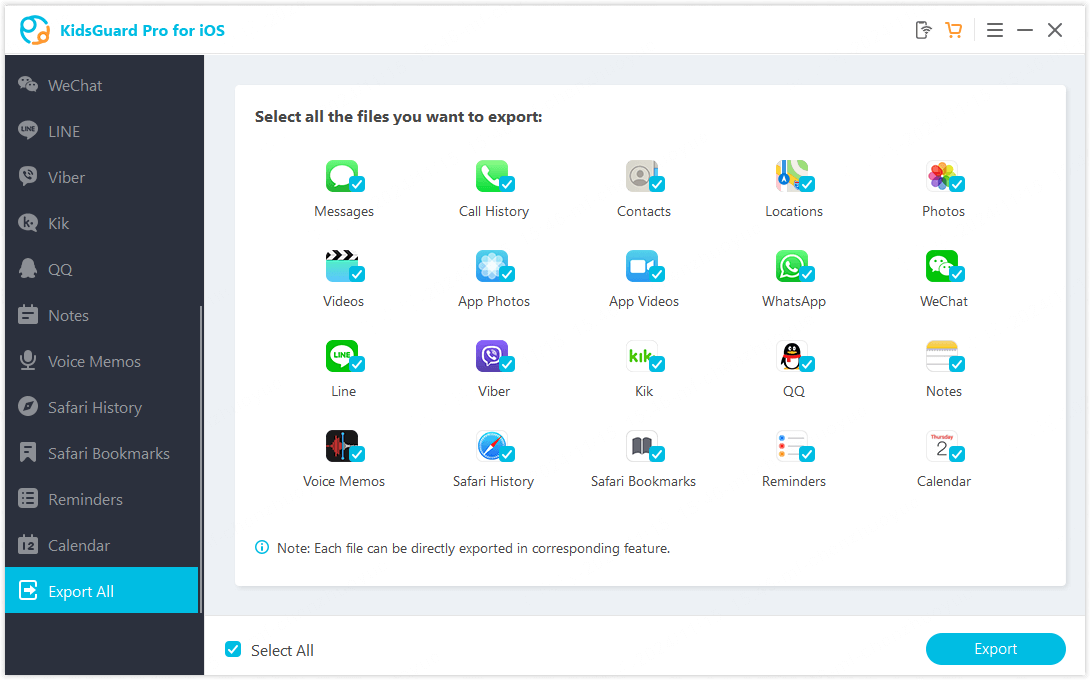
Once the scanning process is complete, you can switch between different file types and view detailed information. Deleted files can also be checked. If you want to get a comprehensive view of the monitored data, especially the chat history and media files of social apps, you can click the 'Export All' button to save and view them on your computer.
